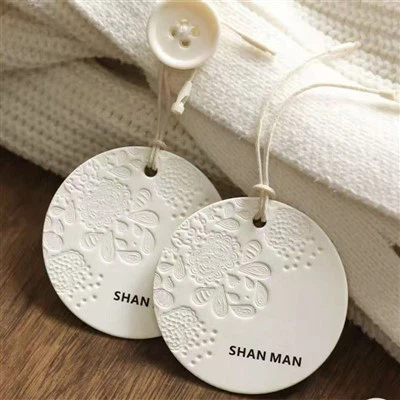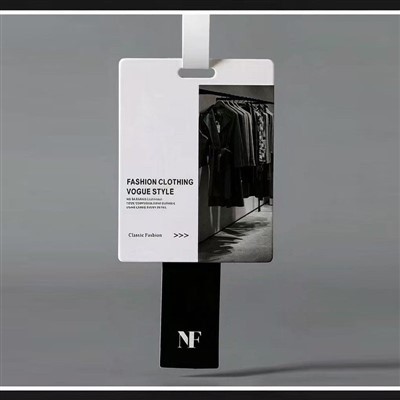
Hey there! I'm a supplier of paper cards, and today I'm super excited to share with you how to make a paper card with glitter. Glitter can add a touch of sparkle and glamour to any paper card, making it stand out and look extra special. Whether you're making a card for a birthday, anniversary, or just to show someone you care, adding glitter is a great way to take it to the next level.
Materials You'll Need
First off, let's talk about the materials you'll need. You don't need a ton of fancy stuff to make a glittery paper card. Here's what you'll want to gather:
- Paper: You can use cardstock, which is thicker and sturdier, or regular printer paper if you prefer a lighter feel. The choice depends on the look and durability you're going for.
- Glitter: There are all sorts of glitter out there - fine glitter, chunky glitter, different colors, and even holographic glitter. Pick the one that suits your design.
- Glue: A good glue is essential to keep the glitter in place. You can use white glue, craft glue, or even glue sticks.
- Scissors: To cut the paper into the shape you want.
- Decorative Elements: Things like stickers, ribbons, or stamps can add an extra layer of charm to your card.
Step 1: Design Your Card
Before you start adding glitter, you need to have a design in mind. Think about the occasion and the message you want to convey. You can draw a simple sketch on your paper to plan out where you'll put the glitter and other decorations. Maybe you want to spell out a word, create a pattern, or just add some random glittery accents.
Step 2: Cut the Paper
Once you have your design, it's time to cut the paper. You can cut it into a rectangle, square, or any other shape you like. If you're making a folded card, fold the paper in half. You can check out Half Fold Card for some inspiration on different folding styles.
Step 3: Apply the Glue
Now it's time to get the glue on. Use a brush or your finger (if you don't mind getting a little messy) to apply the glue in the areas where you want the glitter to stick. You can be as precise or as free - form as you like. If you're creating a specific shape or pattern, take your time to get it right.
Step 4: Add the Glitter
Once the glue is on, it's glitter time! Pour the glitter over the glued areas. Make sure you cover the glue completely. You can use a shaker to sprinkle the glitter evenly or just pour it directly from the container. After you've added the glitter, gently tap the card to get rid of any excess glitter. You can save the extra glitter for future projects.
Step 5: Let it Dry
This is an important step. Let the glue dry completely. Depending on the type of glue you used, it might take anywhere from a few minutes to a few hours. While it's drying, try not to touch the glittery parts to avoid smudging.
Step 6: Add Extra Decorations
Once the glitter is dry, you can add other decorative elements. Stickers are a quick and easy way to add some color and fun. You can also use ribbons to tie a bow on the card or stamps to add some unique designs. If you're making a luggage - related card, you might want to check out Luggage Hang Tag for some ideas on how to decorate it.
Step 7: Write Your Message
Finally, it's time to write your message. You can use a pen, marker, or even a calligraphy pen to make your words look extra special. Whether it's a simple "Happy Birthday" or a heartfelt message, make sure it comes from the heart.
Tips for Making the Perfect Glitter Card
- Work in a well - ventilated area: Glitter can get everywhere, so it's a good idea to work in a place where you can easily clean up the mess.
- Use a glitter container with a shaker top: This makes it easier to control the amount of glitter you're using.
- Experiment with different types of glitter: Mixing different colors and sizes of glitter can create a really cool effect.
- Be patient: Making a glitter card takes time, especially if you're going for a detailed design. Don't rush it.
Why Choose Our Paper Cards?
As a paper card supplier, we offer a wide range of high - quality paper cards that are perfect for adding glitter and other decorations. Our cards are made from the best materials, ensuring that they're strong and durable. Whether you're a professional crafter or just someone who likes to make cards for fun, our cards are a great choice.


We also have a variety of card styles available, including Hardware Packaging Card for those who need a more industrial - looking card. Our cards come in different sizes and colors, so you can find the perfect one for your project.
Contact Us for Your Paper Card Needs
If you're interested in purchasing our paper cards for your glitter projects or any other card - making needs, we'd love to hear from you. We can provide you with samples so you can see the quality of our cards for yourself. Whether you need a small quantity for personal use or a large order for a business, we can accommodate your needs.
Don't hesitate to reach out and start a conversation with us. We're here to help you create the most amazing paper cards with glitter.
References
- Crafting magazines and online craft communities for inspiration on card designs.
- Glue and glitter manufacturers' websites for product information and usage tips.